Just like a symphony conductor guides each instrument to create perfect harmony, St. Louis-style ribs require precise timing and technique to achieve their signature tender texture. You'll discover how to transform raw pork into succulent, fall-off-the-bone ribs using just your home oven and a few key ingredients. While traditional barbecue masters might insist on smoking, these oven-baked ribs deliver exceptional results that'll rival any smokehouse favorite – and you're about to learn the secrets.
Key Takeaways
- Remove membrane and generously coat St. Louis-style ribs with a dry rub mixture of brown sugar, onion powder, garlic powder, salt, and pepper.
- Wrap ribs tightly in foil and bake at 350°F for 2 hours to ensure tender, juicy meat.
- Finish with barbecue sauce and broil uncovered at 400°F for 10-15 minutes to achieve a caramelized exterior.
- Let ribs rest for 10-15 minutes before cutting to maintain moisture and ensure perfect texture.
- Check doneness by verifying meat easily separates from the bone, indicating perfectly cooked, fall-off-the-bone tenderness.
History

While barbecue traditions vary across America, St. Louis-style ribs emerged as a distinct culinary innovation in Missouri during the mid-20th century. You'll find these ribs are uniquely trimmed from standard spare ribs into a uniform, rectangular shape that's become their signature characteristic.
Local barbecue establishments in the St. Louis region developed this precise cutting technique to create a more consistent cooking experience. The style's popularity grew substantially through competitive barbecue circuits, where pit masters showcased the ribs' superior presentation and flavor profile.
Today's barbecue culture recognizes St. Louis-style ribs as a cornerstone of American smoking traditions, distinguished by their methodical preparation and versatility with various regional sauces. This systematic approach to rib preparation has influenced how you'll prepare and serve ribs across the country.
Recipe{ing}
Ingredients:
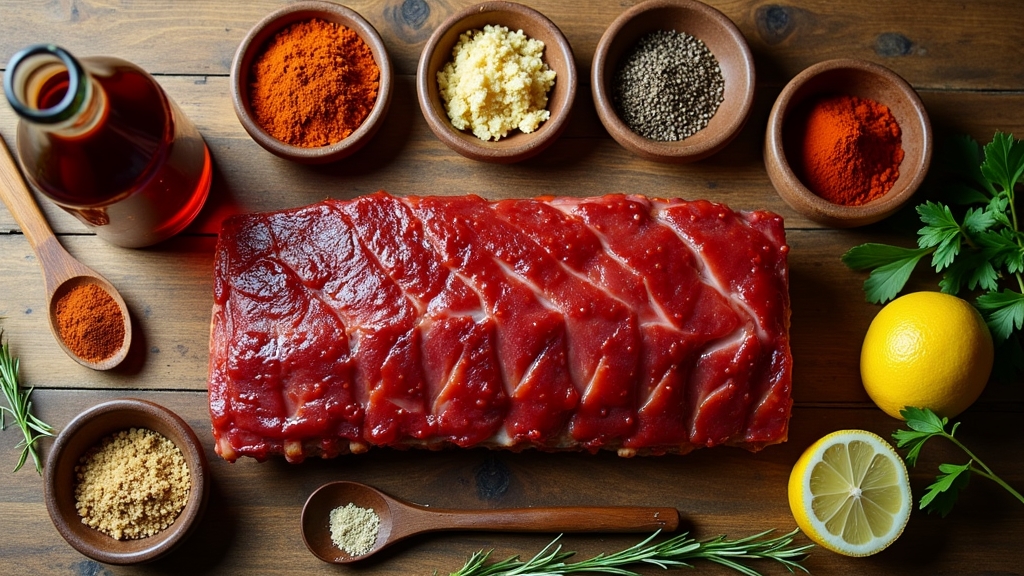
- 2 racks St. Louis-style ribs
- 1/2 cup brown sugar
- 2 tablespoons onion powder
- 2 tablespoons garlic powder
- 1 tablespoon black pepper
- 2 tablespoons salt
- 1 cup barbecue sauce
- Heavy-duty aluminum foil
- Cooking spray
Remove the membrane from the back of the ribs and pat them dry with paper towels.
Mix the dry rub ingredients thoroughly and coat both sides of the ribs generously.
Wrap the ribs tightly in foil and place them on a baking sheet.
Bake at 350°F for 2 hours, then unwrap carefully, brush with barbecue sauce, and return to the oven uncovered at 400°F for 10-15 minutes until the sauce caramelizes.
For best results, let the ribs rest for 10-15 minutes before cutting.
If preparing ahead, you can apply the dry rub up to 24 hours in advance and refrigerate.
When wrapping in foil, ensure the seams are tightly sealed to prevent steam from escaping during cooking.
Always check for doneness by testing if the meat easily separates from the bone but still holds its shape without completely falling apart.
Final Thoughts

Making St. Louis style ribs in your oven doesn't require a traditional smoker or grill to achieve mouthwatering results.
You'll find this two-step baking process delivers consistently tender, flavorful ribs that your family will request again and again. The combination of a well-seasoned dry rub and perfectly timed cooking creates that sought-after balance of tenderness and texture.
Remember to wrap your ribs tightly in foil during the initial bake, as this step is crucial for maintaining moisture.
When you're not serving immediately, store your leftover ribs in an airtight container in the refrigerator for up to 4 days. For longer storage, wrap portions individually in foil, place them in freezer bags, and freeze for up to 3 months.
You'll maintain the same delicious results when reheating.


